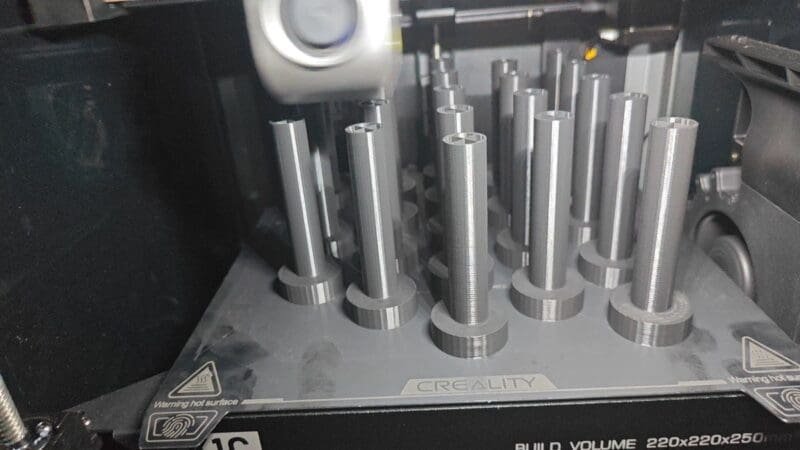
PLA Not Sticking to Bed: Best 9 Solutions
The plastic known as PLA, or polylactic acid, is created from biodegradable natural materials. Its ease of printing and comparatively low-temperature requirements make it the most popular filament for 3D printing. PLA is safe for the environment and non-toxic as well. Although PLA is the most common and easiest 3D printing material to use, it sometimes sticks. The following are the 9 best solutions to solve the problem of PLA not sticking to the bed surface.
Why is Pla filament not sticking to the bed?
1. Check your bed level:
When PLA is not adhering to the print bed, leveling the bed should be your first step. This method works because it puts the nozzle at the right distance from the bed surface so that the extruded filament can put a lot of pressure on the build plate.
It is known that the typical distance is approximately 0.1mm, and the thickness should be equal to that of an A4 piece of paper. Whenever your bed is uneven, your prints won’t work because the extruded filament will stick to the bed in certain spots but not in others.
2. Update your Z offset:
In essence, your 3D printer’s Z-Offset is an adjustment it makes to the height of the nozzle when printing. Normally, leveling the print bed would place the nozzle in a good spot to eliminate the need for a Z-offset.
If you find that your nozzle stays too far away from the build plate, try entering a Z-Offset value into the 3D printer. If the Z-Offset value is positive, the nozzle will move up. If the value is negative, the nozzle will move down.
3. Make sure your bed is clean:
Make sure the build plate is clean and level. PLA may not always stick well to the bed if the plate is dirty or has small pieces on it. Be careful to clean your building plate before each print, therefore. To clean the build plate’s surface of any dirt, use isopropyl alcohol or another cleaning agent.
4. Use a bed Adhesive:
To get PLA prints to stick to your bed, use adhesives like hairspray, glue sticks, or perhaps even various tapes like Painter’s glue and Kapton tape. Surfaces like glass beds should use these adhesives, and they may even help some print bed materials last longer. After the first layer sticks well to the glue on the bed, the rest of the print should be safe.
5. Check your print bed temperature:
Your bed temperature is the next factor you should consider because it can improve PLA’s adhesion to the bed. You should be using a bed temperature between 40 and 60 °C while printing with PLA.
6. Nozzle stays too far from the bed:
The filament will not stick to the build plate in any way if the nozzle is located too far away from the bed; if it is too close, it will push through the layer height and prevent the material from being extruded and sticking. The foundation would be inadequate in any case. The tipping point is when the nozzle gives the filament some room to move while applying just enough pressure to let it stick to the plate.
7. Change your build plate:
You can try switching your print to a more adhesive-friendly substance if several of these remedies don’t work. A PC spring steel sheet is used in a 3D printer, and its adhesion of it is excellent.
Among the greatest things about this plate is that the print starts to loosen on its own as the bed temperature drops, and you don’t even need a spatula and flex to take it off.
For your 3D printer, it is strongly advised to use a magnetic bed, a PEI bed, or a PC spring steel sheet.
8. Change your PLA Filament:
There are various kinds of PLA, and each has unique characteristics. If you discover that your filament is not adhering to the bed adequately, it can be because of the kind of PLA you are working with. For instance, certain PLA filaments need a higher bed temperature to adhere properly since they are more temperature-resistant than others.
Alternatively, you might have to apply more glue or hairspray. In any case, if the PLA you are using is not producing the intended results, it is always worthwhile to try a different kind of PLA.
9. Start using a brim:
It is crucial to make sure the very first layer of PLA printing adheres effectively to the build plate. A brim is a plastic extruded layer that encircles the printed item. The brim prevents PLA from folding up and dropping off the build plate at the edges. Moreover, the brim gives the hot end more surface area to heat, which may enhance bed adhesion.
tips for your desired result while using PLA:
- Use tape of the blue painter or glass bed: PLA adheres effectively to flat surfaces like hairspray-coated glass bed or blue painter’s tape. Try one of these surfaces if you are having difficulties in making your PLA stick.
- Print in an area of ventilation: PLA emits mild vapors when heated, which might be uncomfortable to breathe in. It is therefore ideal to print in a space that has good ventilation.
- Seal the PLA in a dry packet: Because PLA is a hygroscopic substance, it can take up moisture from the environment. Too much water absorption by PLA can make it stiff and challenging to print with. Keep PLA in a sealed container with dry packets to avoid this.
- Keep your nozzle clean: Your 3D printing may not work properly if your nozzle is unclean. Even worse, the filament could jam during the procedure of 3D printing, resulting in distorted or gapped 3D creations. To clean your nozzle, one may utilize a brass brush and needle in order to remove any buildup from the tip, or you could even try immersing the nozzle in acetone for the whole night.
- Always store your PLA properly: If not maintained properly, PLA can be challenging to deal with and will become fragile if exposed to excessive moisture.
DISCLOSURE: THIS POST MAY CONTAIN AFFILIATE LINKS, MEANING I GET A COMMISSION IF you DECIDE TO MAKE A PURCHASE THROUGH MY LINKS, AT NO COST TO YOU. PLEASE READ MY DISCLOSURE FOR MORE INFO.


