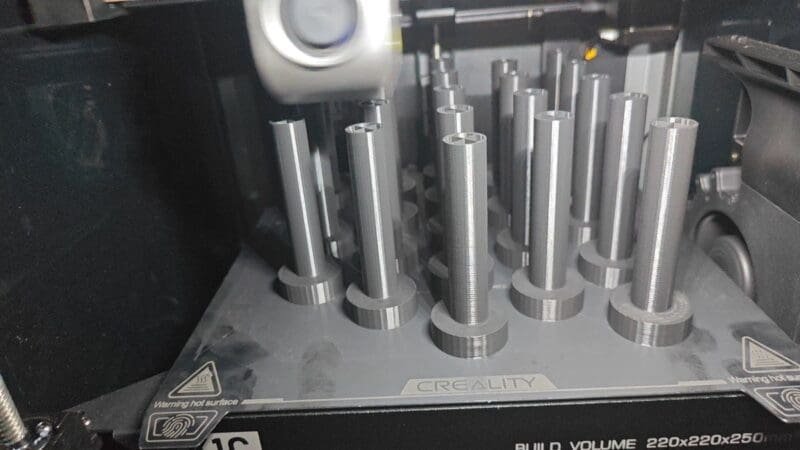
How to Achieve High-Quality Prints: Mastering 3D Printer Tolerance Tests
The world of 3D printing is an exciting place where creativity and innovation come hand in hand. As 3D printing continues to become more prevalent, it has become crucial to know how to get the perfect prints that you are looking for. In this blog post, we will be discussing 3D printer tolerance tests and their margins to ensure that you achieve the quality prints you desire.

Importance of 3D Printer Tolerance Test
The first thing to understand in 3D printing is tolerance and how it affects the quality of the prints. The tolerance of a 3D printer is the margin of error that the printer has in creating an object. If the designed object has precision dimensions, the tolerance of the printer must be taken into account to get an optimal print. Therefore, conducting a tolerance test is an essential step in finding out the level of precision of a 3D printer.
How 3D Printer Tolerance Test Works
3D printer tolerance testing is essential to know the exact values of measurements of the printer. The objective of a printer tolerance test is to identify how much the dimensions of the designed object deviate from the printed object. This is done by creating an object with different angled overhangs and printing a series of cut-out holes.
Investigating Printer Tolerances and Margins
Investigating your printer’s tolerances and margins is an essential step toward producing a perfect print. The video demonstrates creating an object with increasing overhanging angles, starting from 10 degrees and going up in increments of 5 degrees until it reaches a total of 80 degrees. The next step is to investigate your printer’s tolerances and margins using a series of cut-out holes.
Checking Hole Sizes using Linear Caliper
The object printed in the video displays holes ranging from five-point-zero millimeters to five-point-three millimeters. To check the size of each hole, a linear caliper is used to measure the margin of error. This way, we can make the necessary changes in the 3D model to achieve the desired outcome.
Known Size Check
One can further investigate the objects by using objects of a known size to check for consistency. By using a drill bit or the back of it, we can check the size of the drill bit and see which hole it actually fits through. The next step is to figure out how the objects 3D printed fit inside themselves. By printing a series of cutouts, we can increase the size until we find which one it fits into.
Object Dimension Results
By going through the process mentioned in this blog post, we can get an idea of the precision level of a 3D printer. The most important thing to know about your 3D printer is consistency. By knowing that these margins are consistent, you can make adjustments for it in the model itself. This way, you can reduce your margins of error by as low as point zero two millimeters.
Consistency: The Most Important Thing
The most important step towards achieving optimal prints is consistency. By knowing how to get consistent results, we can produce high-quality prints for our clients. Consistency is achieved when we understand the limitations of the printer and work around them.
Conclusion
In conclusion, 3D printer tolerance tests and their margins are essential in achieving quality prints. Going through the process mentioned in this blog post will help you understand the precision level of the printer used. By taking into account its tolerance level, you can create accurate and high-quality prints for your clients. Remember, consistency is the key to achieving the perfect print. Don’t be afraid to experiment and have fun with your 3D printer.
DISCLOSURE: THIS POST MAY CONTAIN AFFILIATE LINKS, MEANING I GET A COMMISSION IF you DECIDE TO MAKE A PURCHASE THROUGH MY LINKS, AT NO COST TO YOU. PLEASE READ MY DISCLOSURE FOR MORE INFO.


