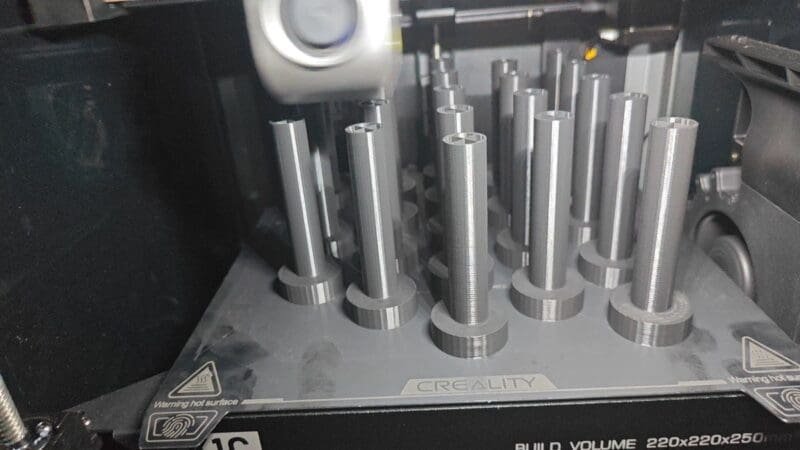
Why OrcaSlicer Slow Down Your Prints? (for Beginners)

Introduction
In the world of 3D printing, slicer software is the bridge between your digital model and the physical print. However, not all slicers are created equal, and sometimes switching to a new one can introduce unexpected challenges. Many users have praised OrcaSlicer for its features, but some have experienced significantly slower print times compared to Creality Slicer. So Why OrcaSlicer Slow Down Your Prints? Let’s dive into the reasons behind this and explore solutions to optimize your printing experience with OrcaSlicer.
Section 1: Introduction to Slicers
Slicer software is essential in 3D printing as it converts 3D models into instructions that the printer can understand. Popular slicers like Creality Slicer and OrcaSlicer offer different features and settings that can impact print quality and speed. Creality Slicer is known for its user-friendly interface and efficiency, while OrcaSlicer is praised for its advanced settings and customization options. However, this flexibility can sometimes lead to longer print times if not configured correctly.
| Preview | Product | Price | |
|---|---|---|---|

|
Creality 3D Printer Tool Kit with Case 35Pcs with Cleaners Filament Slicer Print Head Wrench… | Buy on Amazon |
Section 2: User Experience with OrcaSlicer
Sometimes you might have a significant issue like a user meet like me: OrcaSlicer estimated a print time of 3 hours and 8 minutes for a part that Creality Slicer estimated at only 45 minutes. Despite online tutorials and adjusting speed settings, the problem persisted. This discrepancy is a common concern among users transitioning to OrcaSlicer.
Section 3: Common Issues and Solutions
Max Volumetric Flow
Max volumetric flow is a critical setting that determines the maximum amount of filament the printer can extrude per second. If set too low, it can drastically slow down your print. Users often overlook this setting, which can be found in the filament settings tab. Adjusting it from 18mm³/s to a higher value, like 25mm³/s, can significantly improve print times.
No products found.
Cooling Settings
Another common culprit is the cooling settings. The “slow down for better part cooling” option, if enabled, can reduce print speed to ensure better cooling, but this can lead to prolonged print times. It’s essential to review and adjust these settings to balance cooling efficiency and print speed.
| Preview | Product | Price | |
|---|---|---|---|

|
3D Printer Cooling Fan, 40mm x 40mm x 10mm Blower Cooling Fan with 2 Pin Terminal for Hotend… | Buy on Amazon |
Support Types
Support structures are necessary for overhangs and complex geometries, but the type of support can impact print duration. Tree supports, for example, can be slower than normal supports. Experimenting with different support types and settings can help find a balance between support effectiveness and print speed.
Section 4: Advanced Troubleshooting
Profile Settings
Profile settings play a crucial role in slicer performance. You may found some relief by deleting existing profiles and starting fresh, which reduced the print time discrepancy to about 30 minutes longer than Creality Slicer. Ensuring profiles are correctly configured for your printer model and material can resolve many issues.
Layer Time and Infill
The internal solid infill percentage and layer time settings also impact print speed. Higher infill percentages and longer layer times can extend print durations. Reviewing these settings and optimizing them for your specific print job can lead to faster prints without compromising quality.
Conclusion
Switching to a new slicer like OrcaSlicer can bring challenges, but understanding and optimizing its settings can lead to improved print performance. By addressing common issues such as max volumetric flow, cooling settings, and support types, you can reduce print times and achieve better results. We hope these insights help you navigate OrcaSlicer more effectively.
DISCLOSURE: THIS POST MAY CONTAIN AFFILIATE LINKS, MEANING I GET A COMMISSION IF you DECIDE TO MAKE A PURCHASE THROUGH MY LINKS, AT NO COST TO YOU. PLEASE READ MY DISCLOSURE FOR MORE INFO.


