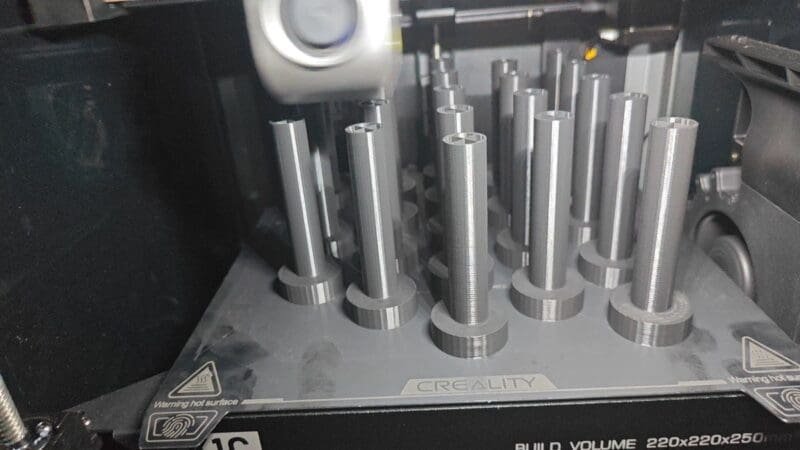
How to Fix Your Creality K1C Extruder: A Step-by-Step Guide

Experiencing issues with your Creality K1C extruder can be frustrating, especially after you’ve just changed the nozzle. If you’re wondering why your extruder isn’t working, this guide will help you diagnose and fix common problems. Whether it’s a filament jam or something else, we’ve got you covered with clear, step-by-step instructions.
How to Fix Your Creality K1C Extruder
Step 1: Check for a Filament Jam
One common issue is a filament jam. This happens when a piece of filament gets stuck inside the extruder, blocking new filament from being fed through.
Here’s how to fix it:
- Remove the Extruder Motor Module:
- Locate the bolt on the left side of the extruder motor module. Undo this bolt and the two screws on the opposite side to detach the module.
- Carefully set aside the motor module after detaching it.
- Disassemble the Extruder Housing:
- Remove the screws on the housing to open it up. This will expose the interior of the extruder.
- Look inside for any pieces of filament that might be stuck. If you find any, use a pair of snips to cut them out or a lighter to heat them up and pull them out gently.
- Reassemble the Extruder:
- Once the jammed filament is removed, reassemble the extruder by reversing the steps above. Ensure all screws are securely tightened.
| Preview | Product | Price | |
|---|---|---|---|

|
Creality K1C/K1 SE Upgrade Direct Drive Extruder, Without Stepper Motor, Dual Gear Feeding Extrusion… | $28.49 | Buy on Amazon |
Step 2: Ensure Proper Filament Insertion
Improper filament insertion can cause feeding issues. To avoid this, follow these steps:
- Cut the Filament at a 45-Degree Angle:
- Before inserting the filament, cut the end at a 45-degree angle. This makes it easier to feed through the extruder.
- Insert Until You Hear a Click:
- Push the filament into the extruder until you hear a “click,” indicating it’s properly in place. This ensures the filament has reached the hot end and is ready to be extruded.
- Check for Proper Engagement:
- Make sure the filament is properly engaged with the extruder gears. This can be confirmed by manually feeding a small amount of filament through and checking if it moves smoothly.
| Preview | Product | Price | |
|---|---|---|---|

|
Creality Hyper PLA Filament 1.75mm, 3D Printer PLA Filament 600mm/s High-Printing Speed 1kg(2.2lbs… | Buy on Amazon |
Step 3: Adjust Temperature Settings
Sometimes, the extruder might not be working properly due to incorrect temperature settings. Here’s how to check and adjust them:
- Verify Temperature Settings:
- Ensure the extruder temperature matches the filament type. For standard PLA, set the temperature to around 220°C. Different filaments require different temperatures, so always check the manufacturer’s recommendations.
- Heat the Nozzle:
- Preheat the nozzle before loading the filament. This helps to ensure that the filament melts properly and flows smoothly through the nozzle.
- Monitor During Initial Extrusion:
- When you first start extruding after changing filament or nozzle, watch closely to make sure the filament is melting and extruding properly. Adjust the temperature if necessary.
Step 4: Inspect the Nozzle and Extruder Assembly
If you’ve checked for jams and ensured proper filament insertion but are still experiencing issues, the problem might lie with the nozzle or other parts of the extruder assembly.
- Remove and Inspect the Nozzle:
- Turn off the printer and let it cool down. Remove the nozzle and inspect it for clogs or damage. If it’s clogged, you can try cleaning it with a needle or replacing it with a new one.
- Check the Thermal Sensor:
- Ensure the thermal sensor is properly connected to the hot end. A loose connection can cause incorrect temperature readings and affect extrusion.
- Look for Mechanical Issues:
- Inspect the extruder gears and make sure they are not worn out or damaged. Also, check the tension of the extruder spring to ensure it’s applying enough pressure to the filament.
| Preview | Product | Price | |
|---|---|---|---|

|
Creality Official K1C Nozzles 4 PCS, Unicorn Quick-Swap Nozzle Kit,High Speed Tri-Metal Steel-Tipped… | $29.02 | Buy on Amazon |
Step 5: Additional Tips for Smooth Printing
To maintain smooth and consistent printing, consider these additional tips:
- Use High-Quality Filament:
- Always use high-quality filament to reduce the chances of clogs and jams. Low-quality filament can contain impurities that cause issues during printing.
- Regular Maintenance:
- Regularly clean and maintain your printer to keep it in optimal condition. This includes cleaning the nozzle, checking the extruder gears, and ensuring all connections are secure.
- Optimize Print Settings:
- Fine-tune your print settings for different filaments and models. Adjust parameters like print speed, layer height, and retraction settings to achieve the best results.
Conclusion:
Fixing your Creality K1C extruder doesn’t have to be daunting. By checking for filament jams, ensuring proper insertion, adjusting temperature settings, and inspecting the nozzle and extruder assembly, you can resolve most common issues. Regular maintenance and using high-quality filament will also help in achieving smooth and consistent prints.
Remember, persistence is key, and with a bit of patience, you’ll be back to creating amazing prints in no time. Happy printing!
If you still encounter problems, don’t hesitate to seek help from the community or customer support. The 3D printing community is vast and supportive, and there’s always someone who has faced and solved a similar issue.
DISCLOSURE: THIS POST MAY CONTAIN AFFILIATE LINKS, MEANING I GET A COMMISSION IF you DECIDE TO MAKE A PURCHASE THROUGH MY LINKS, AT NO COST TO YOU. PLEASE READ MY DISCLOSURE FOR MORE INFO.


